Mastering Group, Lock & Align in Canva

Daniel Scott
@dan
This post is for all the creatives and designers who direct all their energy toward learning and mastering the best tools of the trade but struggle with layouts and deadlines. In this post, we will learn how simple techniques like grouping, aligning, and locking elements will change your workflow. From graphic designs, to detailed illustrations and layouts, mastering these common skills ensures balance and efficiency, allowing you to keep your mind on the creative side of the job.
This post is based on my Canva Essentials course! I’m excited to share it with you and help you get started with this awesome design tool! When you become a BYOL member, you gain access to this course as well as my 30+ additional courses on Illustrator, Photoshop, Lightroom, InDesign, Figma, and more. As a BYOL member you will also enjoy personalized support, earn certificates, and tackle exciting community challenges. Head here to sign-up!
Are you ready? Fire up your laptops and let’s get efficient!
Workflow Techniques 101: Grouping, Aligning, and Locking Stuff
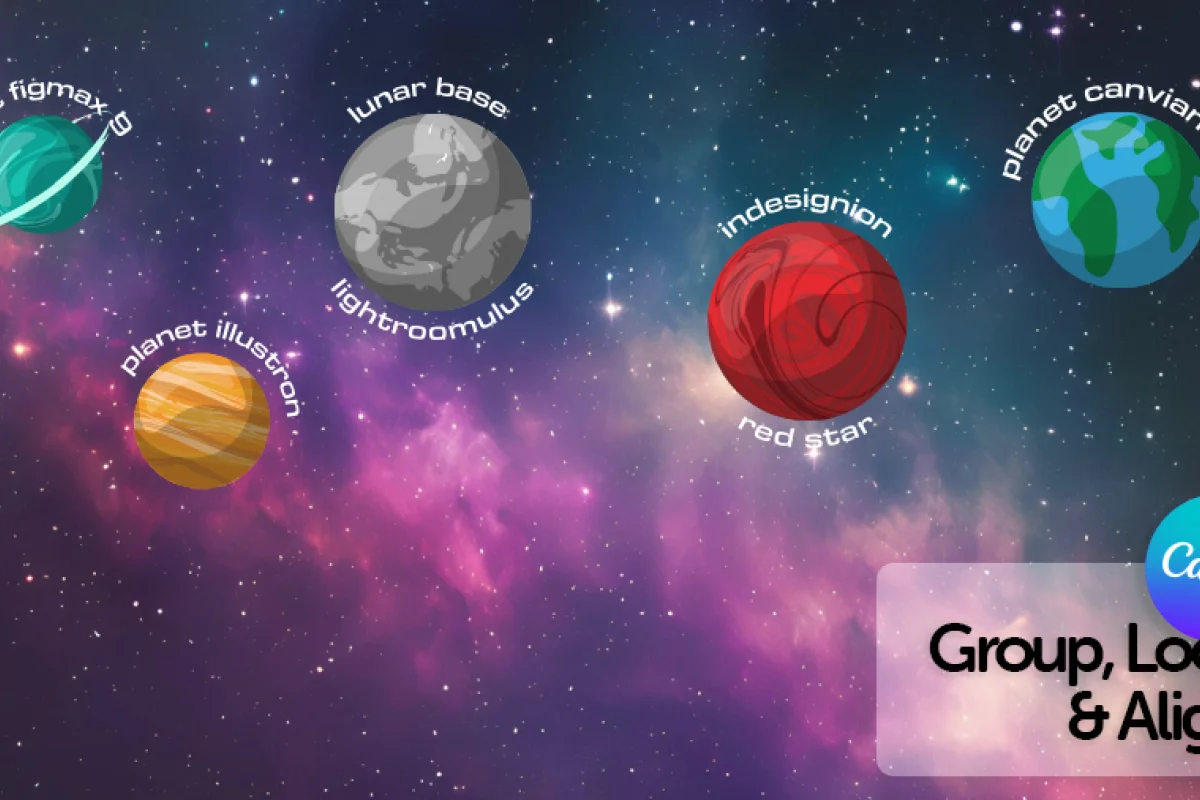
Alright, let’s pack up and take the first rocket ship to outer space. I’ll be creating a cartoon-y space landscape in Canva, you can follow using this idea or create your own artwork, just make sure you have a handful of elements like graphics, images, and text boxes to organize into a friendly layout. Add them randomly into your Canva page and as soon as you are ready, we will start grouping, aligning, and locking all these objects to tidy up the place!
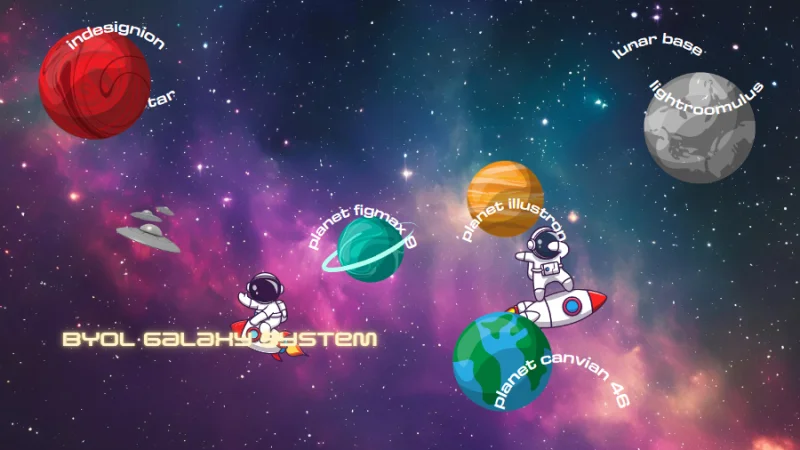
This is not too crazy, but it does need some help. Let’s start boosting our workflow!
Let’s start with grouping and see how we can bring objects together in Canva.
Grouping is a fundamental design principle, the first step to efficiency, and vital for user or viewer perception.
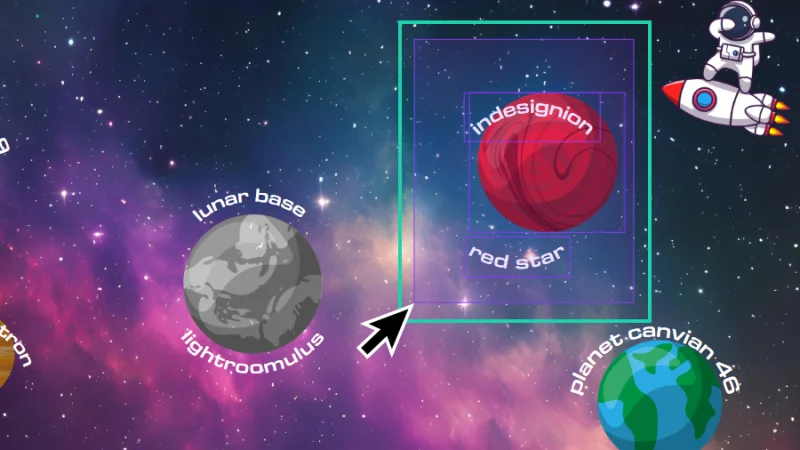
When you are working with multiple elements on a single design, groups keep your layers organized, and allow you to move, resize, or apply effects to all grouped objects at once, while also simplifying layout adjustments. How do we group elements in Canva? I’ll set the first pair with the UFO fleet and the title text box. Click and drag each element to the lower right corner of the composition. To select them both, we hold Shift on both Mac and PC while selecting them. The UFO fleet and title will be surrounded by a large bounding box, but each element will have a thinner box around it to confirm they’re both in the same selection. This is really useful when we are grouping a larger number of elements.
Hovering above our selection, we can see a taskbar displaying some options. The obvious one is Group. Let’s click on this button to group our first pair of Canva elements.

There is no way to get it wrong. If you want to group, click on… Group.
UFO fleet and title are now linked and any change we make to the group will affect both elements. Cool!
Let’s move on to Aligning.
Alignment is another key design principle. If grouping is all about efficiency and perception, alignment is about visual aesthetics, layout balance and harmony, as well as accessibility, readability and comprehension.
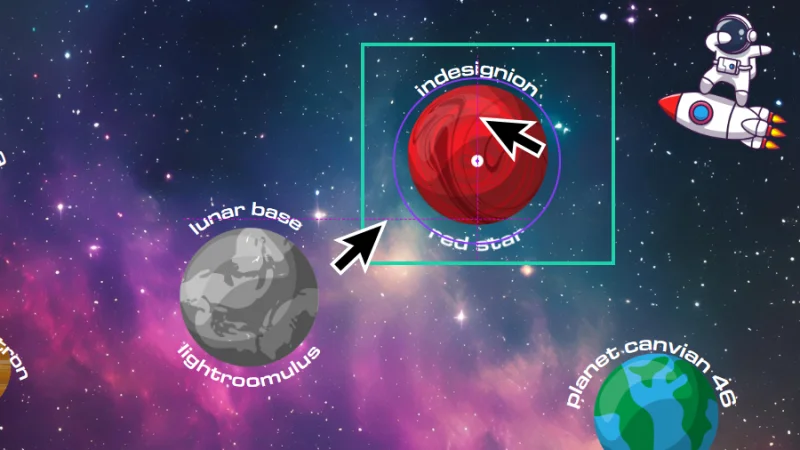
Let’s start aligning elements in Canva! Let’s pick up the gray moon, drag the text elements “lunar base” and “lightroomulus” close to it, and have them all selected together, holding the Shift button while we do it. Next, we right-click one of the elements, hover the mouse cursor over the Align elements option on the flyout menu, and then select the adequate alignment position. We can select from:
Vertical alignment: Selected elements will align to the Centre, Left, or Right side of an imaginary vertical axis.
Horizontal alignment: Selected elements will align with the Top, Middle, or Bottom of an imaginary horizontal axis.
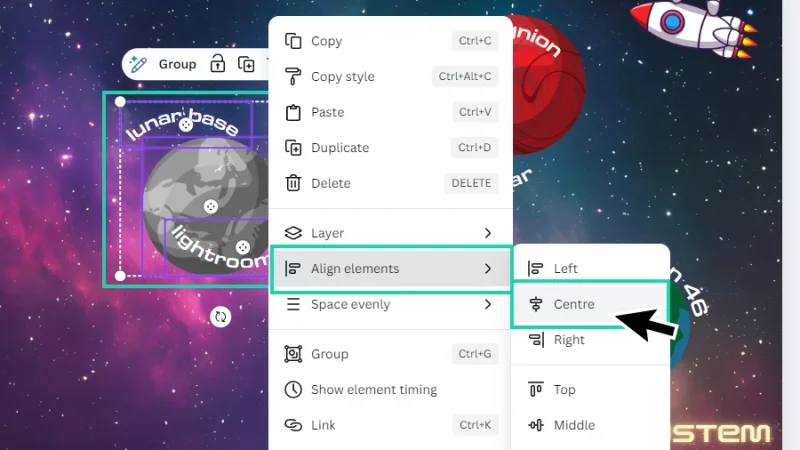
That selection looks a bit messy! I’ll align all these elements to the Centre, it should work!
I’ll adjust the spacing just a bit and there we are! Now we can group them together and move on to the next set.
Why didn’t we create the group before aligning these elements? If we select a group and nothing else, Canva thinks we want to align its position as a whole inside the page, and not the elements within that group.
Here’s another way to create a group: right-click one of the selected elements and click Group on the flyout menu. There is also a cool shortcut for this action: Command + G on a Mac or Control + G on a PC.
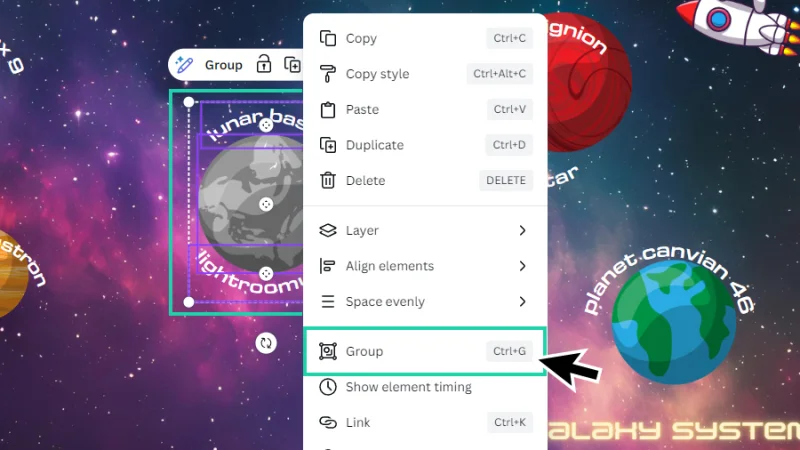
Once you have your elements aligned, group them together so no piece is left behind.
Let’s push on and take a look at Locking.
Ok, locking is not a fundamental design principle, but it is one of the best workflow practices. Why should we utilize the lock function? You can’t change a locked object, unless you only lock its position (we will get there), so any accidental changes are easily prevented. Locking maintains your layout’s integrity and keeps your attention on other unfinished elements in the design. Locking is also a powerful safeguard when sharing your project with other team members – they will know which elements are editable and which are not to be changed.
Still not convinced? Has this ever happened to you?
If your head explodes when this happens, it’s time for coffee. Or a nap. Or both.
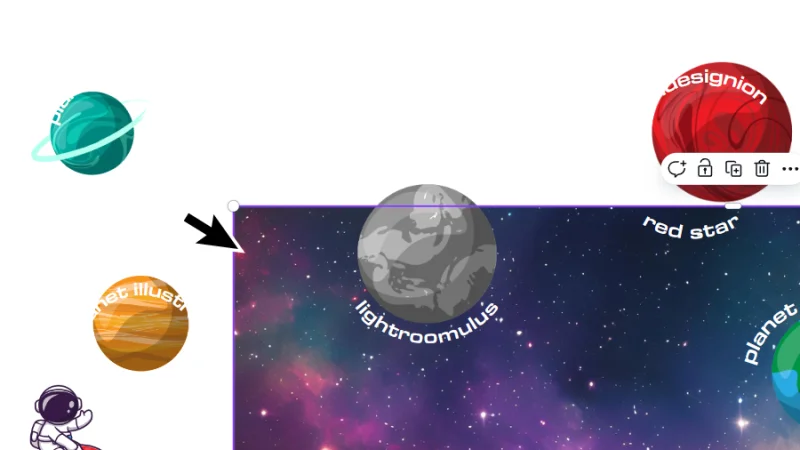
If you are like me, when selecting multiple elements on a page, you try to forget the Shift key exists, and simply click and hold the left mouse button and drag the cursor over the objects you want to keep selected. How many times have you accidentally dragged the background along with the cursor or included unwanted objects in the selection? Locking the background or other objects across the design will stop this from happening. Forever! Well, not forever. Until you unlock it, anyway. This is time and stress-saving! Use it as often as possible.
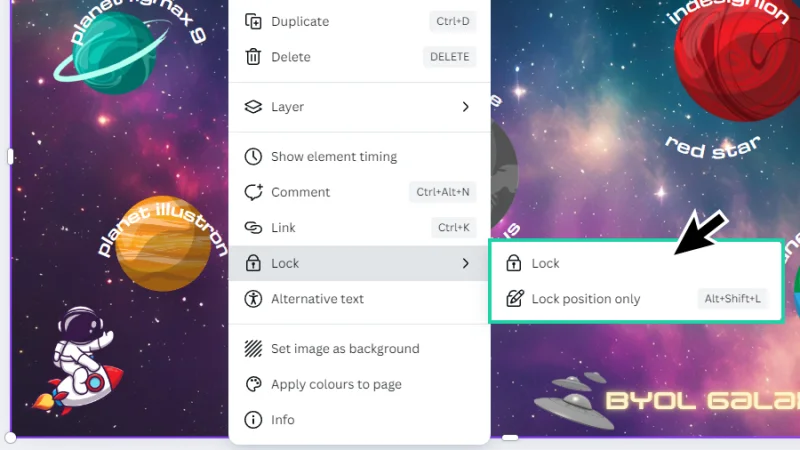
To lock the background, we right-click at any point, hover the cursor over Lock, and then select one of two options:
Lock: the element or group’s position is fixed and all changes are restricted.
Lock position only: the element or group’s position is fixed, but we are still able to edit size, color, font, etc.
This background goes straight to lockup, does not pass go, and does not collect 200 dollars!
Lock position is also accessible on the taskbar floating above the selected background and there is also a shortcut for this action: Option + Shift + L (Mac) or Alt + Shift + L on a PC.
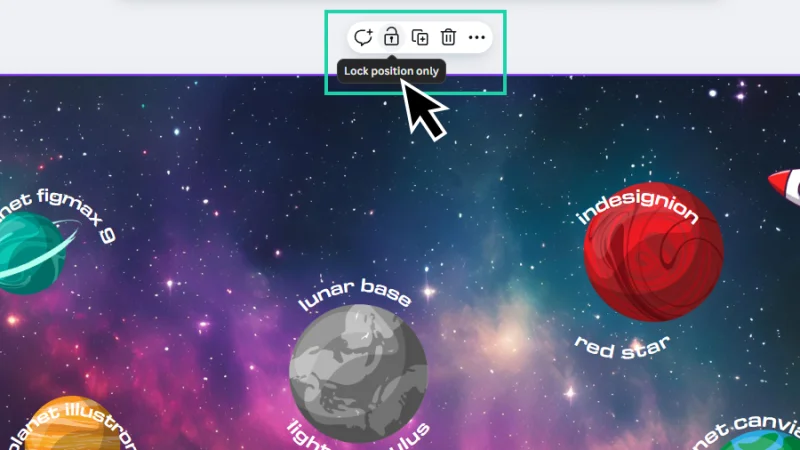
The contextual task bar dynamically adapts to the selection you are working on. It’s amazing!
With the background layer position locked, we can now left-click and drag our mouse cursor to select multiple objects at once without worrying about dragging the background along with it. As we drag over these elements, we can check the thin bounding boxes around each of them. Release the mouse to keep these elements selected.
Click, hold, drag. Quick and easy!
Timeout #1
Principles like Grouping and Alignment will transform any complex design where multiple elements must be organized and combined together. Like mood boards. Check out this article on how to design mood boards and keep everything inspiring and balanced.
Oops! I forgot to align these elements before grouping them. What can I do to fix it? That’s right, I can ungroup them. How do we ungroup elements? With the group selected, we can click Ungroup up on the floating contextual taskbar or use the faithful shortcut keys Command + Shift + G (Mac) or Control + Shift + G (PC).

I’ve made a mistake. No worries! We can always go back to Ungroup and start over!
We’ve already seen alignment in action. I want to remind you that we can manually fine tune Canva’s work by clicking and dragging ungrouped elements and following the guides that assist us with measurements and position. Canva is great!
Make small manual adjustments to alignment. Canva gives valuable help with guides.
Let’s move to a question you may be asking, right now. Can we group groups inside a group? That’s a tongue-twister! Can you say it really fast three times? I know I can’t! Anyway, to answer your hypothetical question: yes, we can group groups inside a group! The steps are the same. Let’s join all these planets together. All we need to do is select each group while holding Shift on our keyboards or (you guessed it) click and drag with our mouse cursor over them, move the mouse up to the contextual task bar and click Group, or use the shortcut Command + G (Mac) or Control + G (PC).

Time to group our awesome galaxy system together.
One more thing I’d like to show you and that I’ve mentioned before, if we right-click this larger group and look for the alignment actions, we now see that Canva wants to help us align it to the page as a whole and no longer the elements trapped inside.
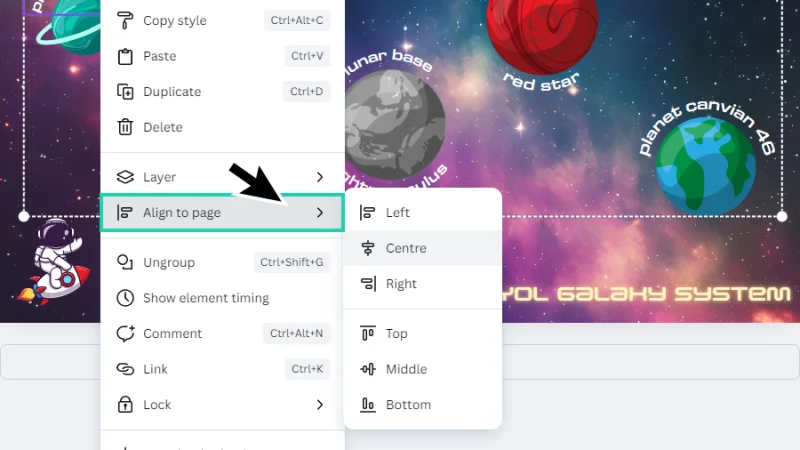
We can now align the whole group of planets to the page as a single object.
To wrap up our workflow techniques blog post, let’s have a look at two more awesome actions: Space evenly and Tidy up.
I’ve ungrouped my planets into individual groups again. Now let’s say we want to distribute their spacing evenly between the first and last planets. Can we do this? Yes, we can. How? Easy, with all groups selected, we simply right-click one of them, hover the cursor over Space evenly on the flyout menu and then select Horizontally. Canva automatically sets our planets to their new positions. How cool is that?
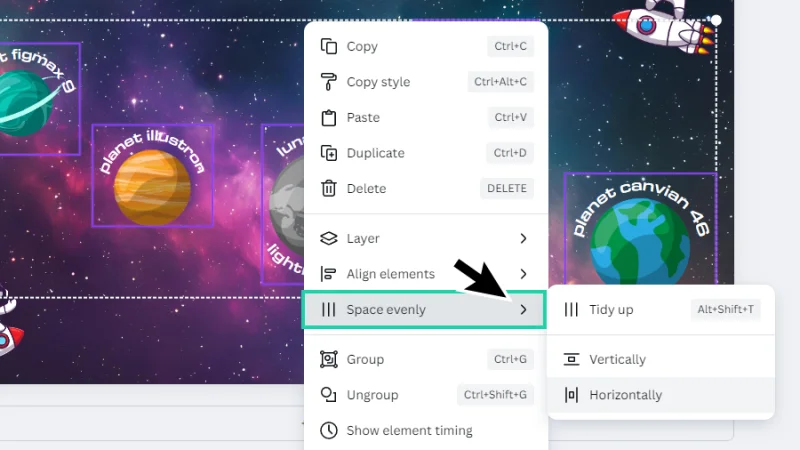
We can manage spacing between elements in two clicks. That 's efficiency!
I’ll quickly set a horizontal alignment and group the planets all together, so we can have a look at how Tidy Up works. Are we happy with the composition below? Feels a bit off but we are not sure how to finish it?
We can do better than this, right?
Let’s select all the elements on the page. Click and drag over the page to have them all picked up. Next, we right-click one of them, hover the cursor over Space evenly, and this time click on Tidy up!
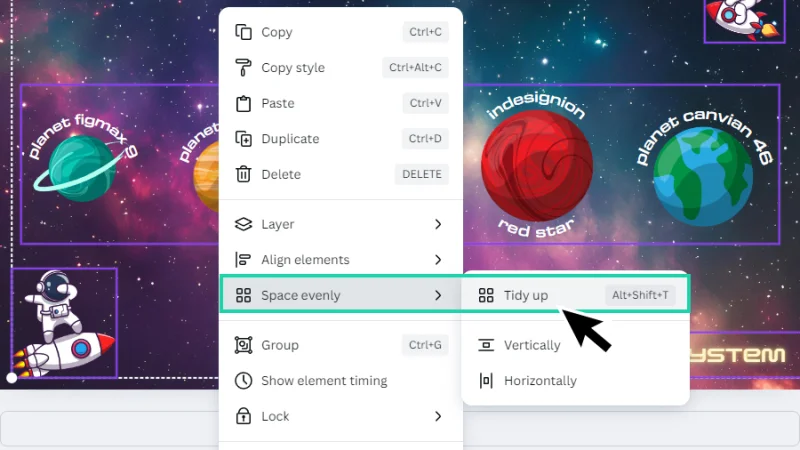
Will Canva help us with the clean up?
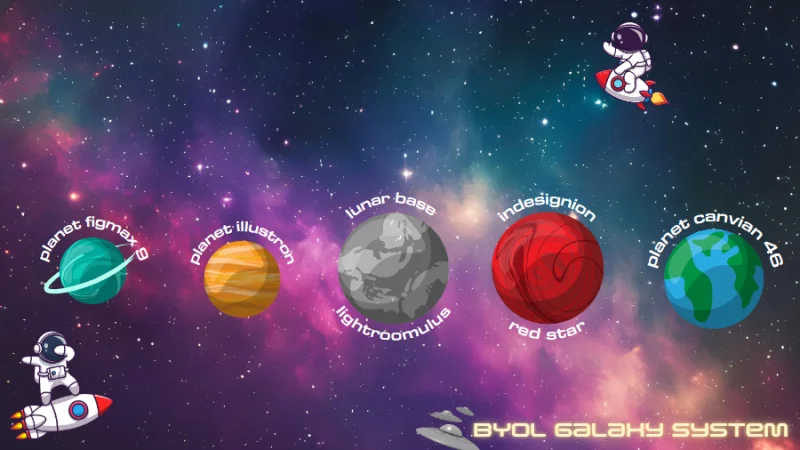
Done! Canva has automatically adjusted our elements so they are perfectly aligned, both horizontally and vertically, and evenly spaced.
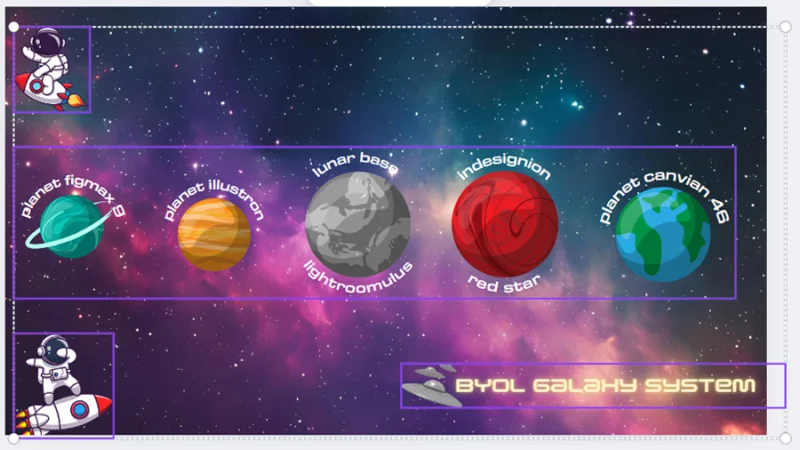
The Tidy up action helps us figure out how to manage spacing and alignment in a composition.
Keep in mind that Canva isn’t setting up any appealing layouts, it’s just working with spacing and alignment to create a sense of balance. But it makes a pretty good start, don’t you think?
Timeout #2
Now you have learned some extra skills, it’s time to start designing! Need a little help? Try this article on finding the right mindset and inspiration to power up creativity!
And There We Have It!
Alright, this was fun! Now that we’ve covered the basics for creating groups, align, and lock elements in Canva, we are ready to streamline our design process and start building up an amazing graphic design portfolio! Keep in mind vital design principles like grouping, alignment, and spacing while creating your projects and you will always deliver like a Pro and stand out from the competition.
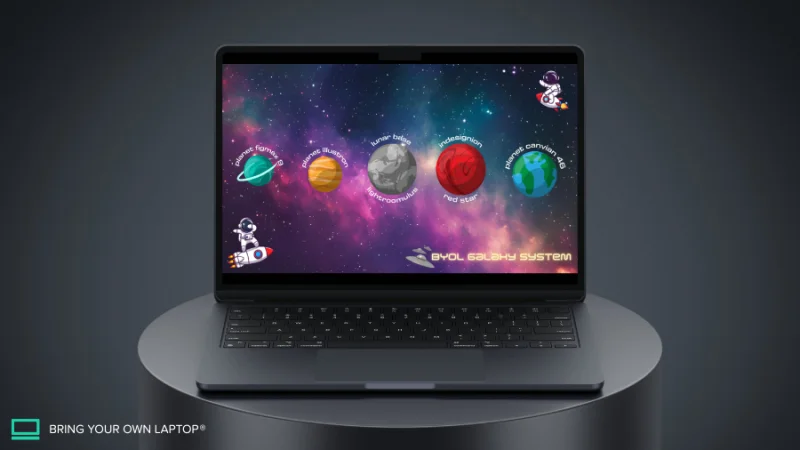
And here is a mockup view of our space landscape. Cool, huh?
What 's Next?
Join BYOL and have fun learning Canva or go beyond and access my Illustrator Essentials and Advanced courses as well as my 30+ additional courses on Photoshop, Lightroom, InDesign, Figma,and more. As a BYOL member you will also enjoy personalized support, earn certificates, and tackle exciting community challenges. Get started here.
See you in class! – Dan
Popular posts
Adobe MAX 2025 - File Download
Daniel Scott
Modeling Shortcuts in Blender
Daniel Scott
Plugins in Illustrator
Daniel Scott
How to Straighten the Horizon in Photoshop
Daniel Scott
Go from zero to design hero with our awesome courses!


- Powered by Marvin
- Terms of use
- Privacy policy
- Cookie policy
-
- © Bring your Own Laptop Ltd 2026